
Five Useful ESP32 Projects for Home Assistant
Some links in this article are affiliate links. If you buy through them, I may earn a commission at no extra cost to you.
Buying a few ESP32 boards is easy. Deciding what useful thing to build with them can take longer.
The boards are cheap. The drawer containing unfinished projects is becoming premium real estate.
There is a Home Assistant thread full of people suggesting projects for spare boards. It is a good reminder that a small sensor with a clear purpose can be more useful than a complicated gadget that only works on the bench.
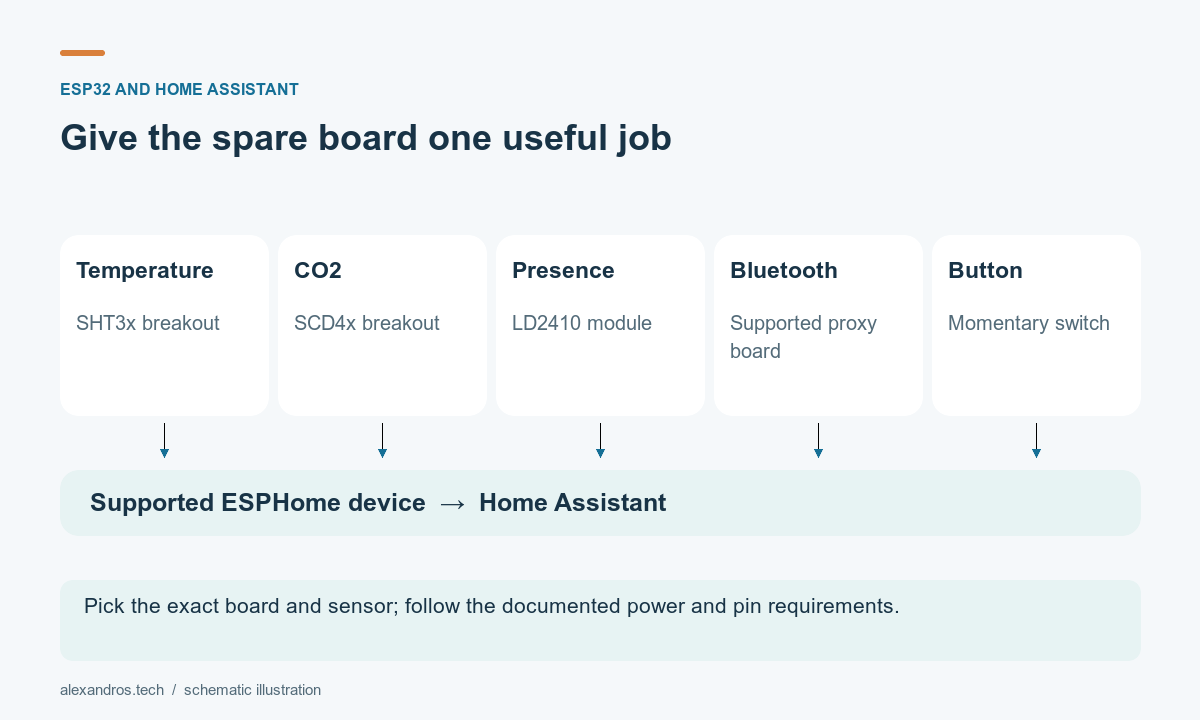
For a first project, I would choose something I want to use every week. These are five options worth investigating, with the parts and decisions I would check before ordering.
Start with one supported board
ESPHome’s getting-started guide explains the setup path and how devices connect to Home Assistant.
Start by comparing an ESP32 development board, and check its exact model against the project documentation. Use a supported board with an identifiable model, an appropriate USB supply and a data-capable cable for the initial setup. If the board has a USB-C socket, a UGREEN USB-A to USB-C data cable is one option to compare; match both ends to your board and computer. A Micro-USB board needs a different cable. Then follow the documentation for the exact sensor module. The voltage regulator on a development board doesn’t make every connected signal safe at any voltage.
I would begin with USB-powered, low-voltage projects. They keep the first experiment manageable and avoid turning a sensor project into mains electrical work.
1. Room temperature and humidity
This is a sensible first build because you can immediately see whether the measurements make sense.
The basic parts are an ESP32 board, a supported temperature/humidity breakout, wiring and a ventilated enclosure. An SHT31 temperature/humidity module is one option to compare. Follow the ESPHome SHT3x component documentation for the exact module.
Place the sensor where it measures the room rather than heat from the board or direct sunlight. Compare it with another instrument and watch the readings through a normal day before creating automations.
A useful first outcome would be a humidity notification that waits for a sustained condition. Nobody needs a phone alert every time the value briefly crosses a boundary.
2. A CO₂ monitor
For this project, I would check the sensing method particularly carefully. An estimated air-quality value from a different type of sensor isn’t interchangeable with a direct CO₂ measurement.
An SCD41 CO₂ module is one shopping option; check the selected variant when a listing offers both SCD40 and SCD41. The SCD4x family has an ESPHome component. Use the documented supported module, supply requirements and calibration instructions as the starting point.
The extra shopping item is the actual CO₂ sensor, which may cost more than the ESP32. An optional display is convenient but unnecessary if the data will already be visible in Home Assistant.
I would use this to understand how a room changes with occupancy and ventilation. It is a hobby monitoring project, not a replacement for a certified safety detector.
3. Presence detection at a desk
A desk is an interesting place to experiment with presence because someone can sit almost still for a long time.
An LD2410C radar module is one option to compare with the ESPHome LD2410 component documentation. The project needs a compatible board, the module, suitable power and an enclosure that fits its installation requirements.
Before attaching it permanently, test positions and adjust it while watching the reported state. Check the empty room, the occupied chair and movement nearby.
Start by logging presence before turning off lights automatically. Once the result is dependable, use an appropriate delay before declaring the area empty. That is much more comfortable than debugging the sensor every time the room goes dark.
4. A Bluetooth proxy
Sometimes the most useful ESP32 doesn’t need an added sensor at all.
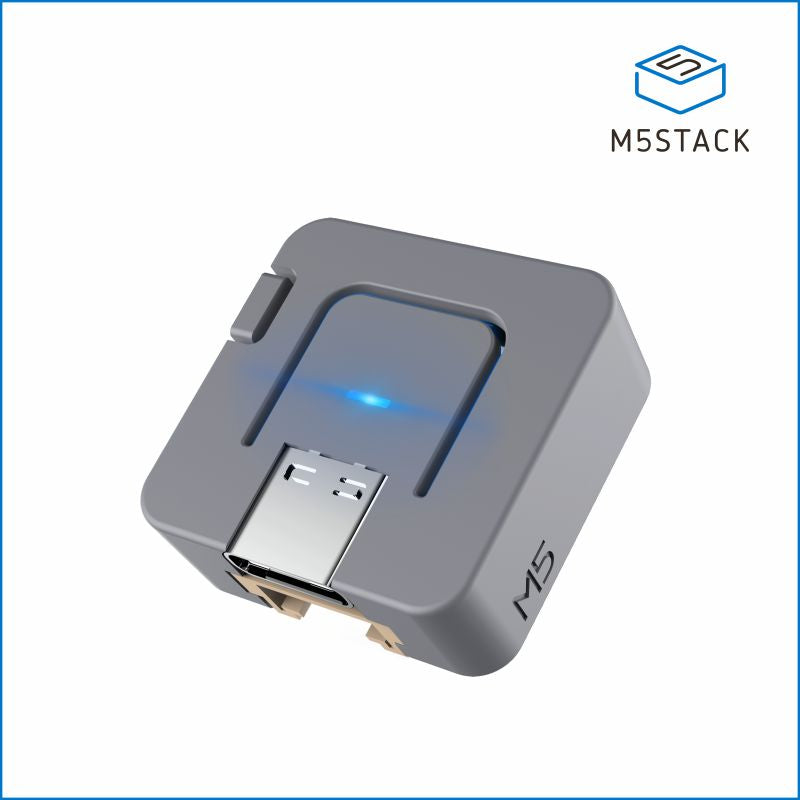
ESPHome’s Bluetooth proxy can extend supported Bluetooth access for Home Assistant. This is worth investigating when the server is far from devices you want to reach.
The shopping list can be as small as a compatible ESP32 board, USB supply and enclosure. Check the proxy documentation and the intended device’s integration: a proxy doesn’t turn every proprietary Bluetooth product into a supported Home Assistant device.
Choose a board explicitly supported by the current proxy setup. Similar-looking ESP32-family listings can use different chips; the family name alone is not a Bluetooth compatibility check.
Try a position with reliable network connectivity and a better path to the Bluetooth device. Compare the behavior before buying several more boards.
5. A physical button for a useful routine
A simple button can make an automation easier to use than a dashboard.
With a supported board, low-voltage 6 × 6 × 6 mm momentary tactile buttons and ESPHome’s GPIO binary sensor, you can build an input for a Home Assistant action. Follow the board’s pin restrictions and the component’s wiring guidance.
I would use it for a low-risk routine first, such as changing a desk scene. Test repeated presses and debounce behavior, and keep a normal way to control the affected devices.
The button and enclosure deserve some thought. Something comfortable to press and easy to mount is more likely to get used than two exposed wires on the edge of a breadboard.
Budget for the finished object
| Project | Extra part beyond the board | Main thing to check |
|---|---|---|
| Room monitor | Temperature/humidity sensor | Placement and enclosure ventilation |
| CO₂ monitor | Genuine compatible CO₂ module | Measurement method and calibration |
| Desk presence | Compatible radar module | Coverage and false detections |
| Bluetooth proxy | Often no extra sensor | Supported target devices and positioning |
| Routine button | Switch and enclosure | Wiring, debounce and useful placement |
For prototyping, an ELEGOO 120-piece jumper-wire set and ELEGOO 830-point breadboards (3-pack) are two options to compare. Plan the board layout and pin access before buying; not every ESP32 board leaves the same room on a breadboard. Include cables, connectors, mounting and power in the cost. If a ready-made sensor solves the problem better, it is worth comparing before buying tools for a one-off build.
I would finish one of these projects, put it in its final location, and use it for a week. Once it has earned its place in the house, the next batch of spare boards will be much easier to justify.