
Building a Quiet Home NAS: What I Would Check Before Buying Again
Some links in this article are affiliate links. If you buy through them, I may earn a commission at no extra cost to you.
When I built my homelab, I started with a Beelink Mini S with an N5095 processor. It was small, quiet and a good way to experiment with Proxmox, VMs and containers.
Eventually, I wanted a more capable storage setup. A mini PC with one SATA port and an external USB drive wasn’t what I wanted long-term, so I moved to a custom server with an i3-N305 motherboard.
On paper, it looked great. More SATA ports, more network ports, more possibilities.
Then I turned it on.
Apparently, I had also ordered a very small server room.
I covered the build and troubleshooting in my original homelab post. Looking back at that experience, there are a few things I would check much earlier if I were choosing parts again.
Especially if the machine was going to live two meters from my desk.
Start with the drives and the location
It is easy to start with the processor. How many cores? Can it transcode video? How many containers can it run?
For a home NAS, I would first decide how many drives I need and where the machine will sit.
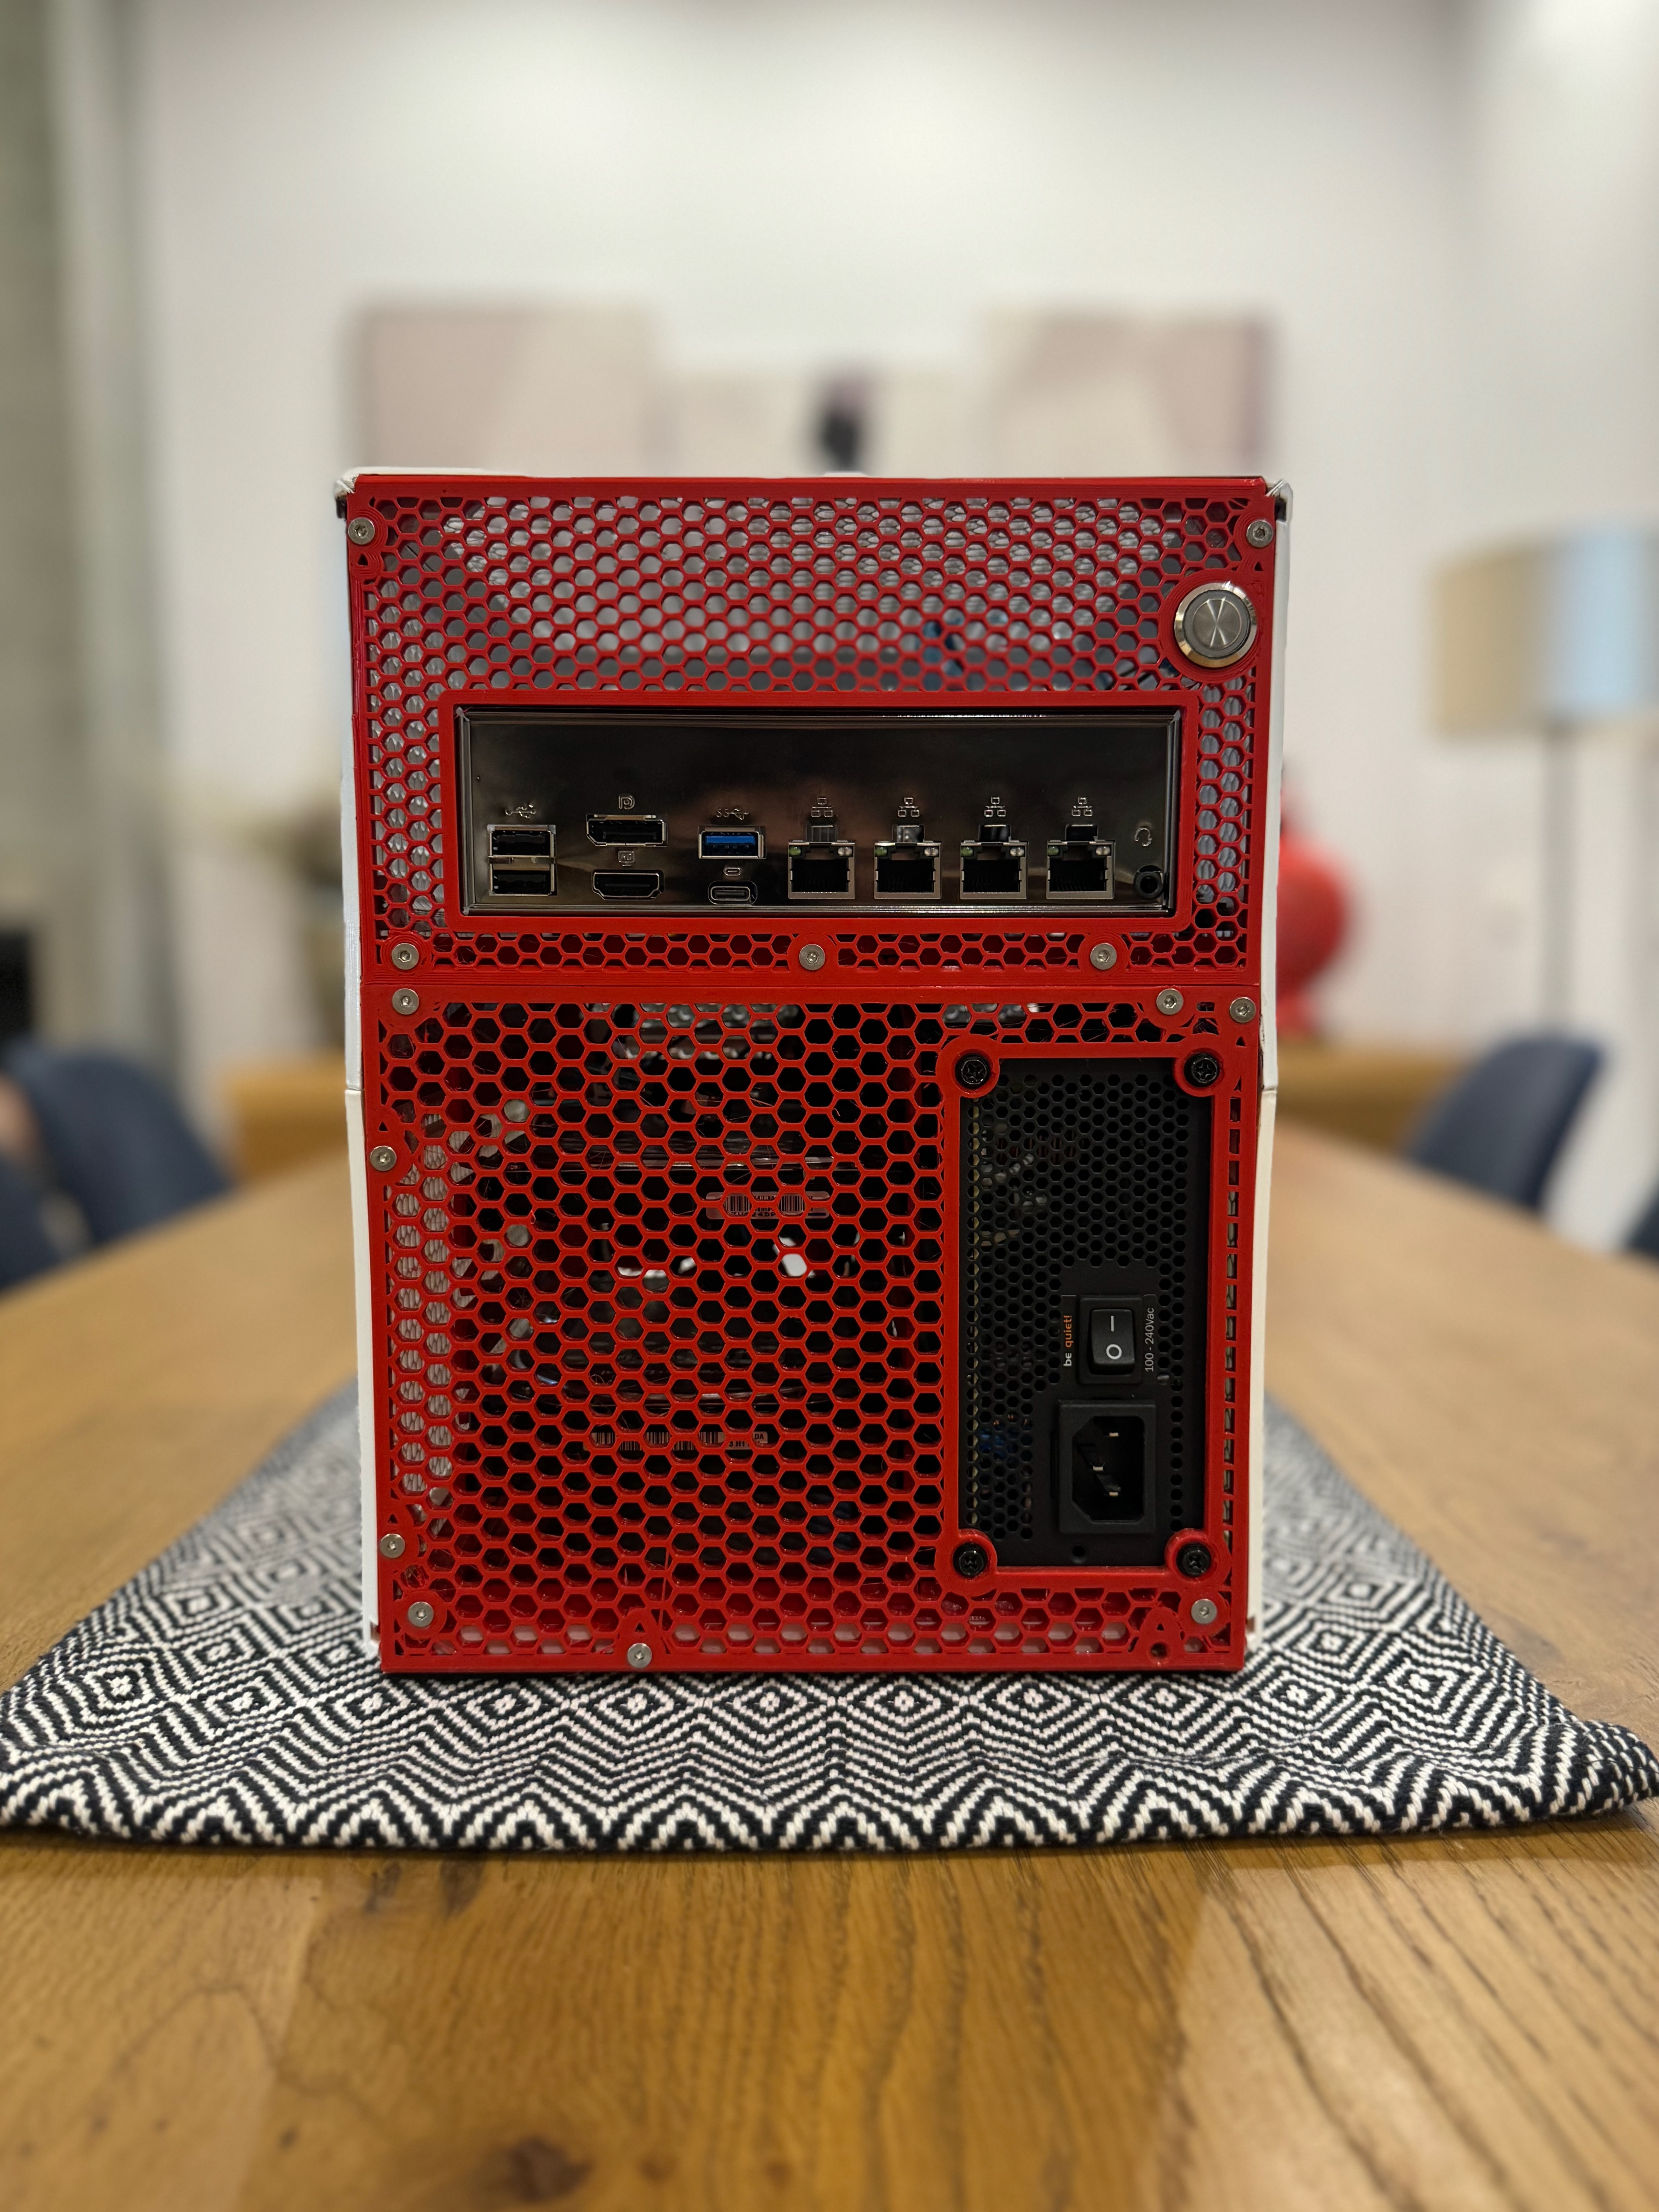
A mini PC can be perfectly useful for a few services, but fitting several 3.5-inch drives around it becomes a different project. Before buying, I would check the actual drive bays, storage connections and power arrangements.
Leave enough room to work inside the case, too. You will eventually need to replace a drive, reach a connector, or clean the filters. A compact case is much less impressive when a simple job requires dismantling half the machine.
The hard drives can be the loudest part
Initially, I bought refurbished Seagate IronWolf Pro 4TB drives. Their performance was good, but the noise was far too much for where the server was sitting. Even at idle, those particular drives overpowered the other noise from the build.
I returned them and moved to non-Pro IronWolf drives, which were quieter in my setup.
That is a description of the drives I used, rather than a rule that every Pro drive is loud and every non-Pro drive is quiet. Capacity, model, mounting and the surrounding case all matter when comparing a new purchase. For a current shopping comparison, this Seagate IronWolf 4TB non-Pro (ST4000VN006) listing is one option to check; the noise observations above belong to my original drives.
Before ordering, I would look for the exact model number and owner reports about noise in a similar environment. A recording of a drive in a server room won’t tell you much about living beside it in a quiet office.
A good return policy is particularly useful when you can’t hear the hardware before buying it.
Smaller doesn’t automatically mean easier to cool
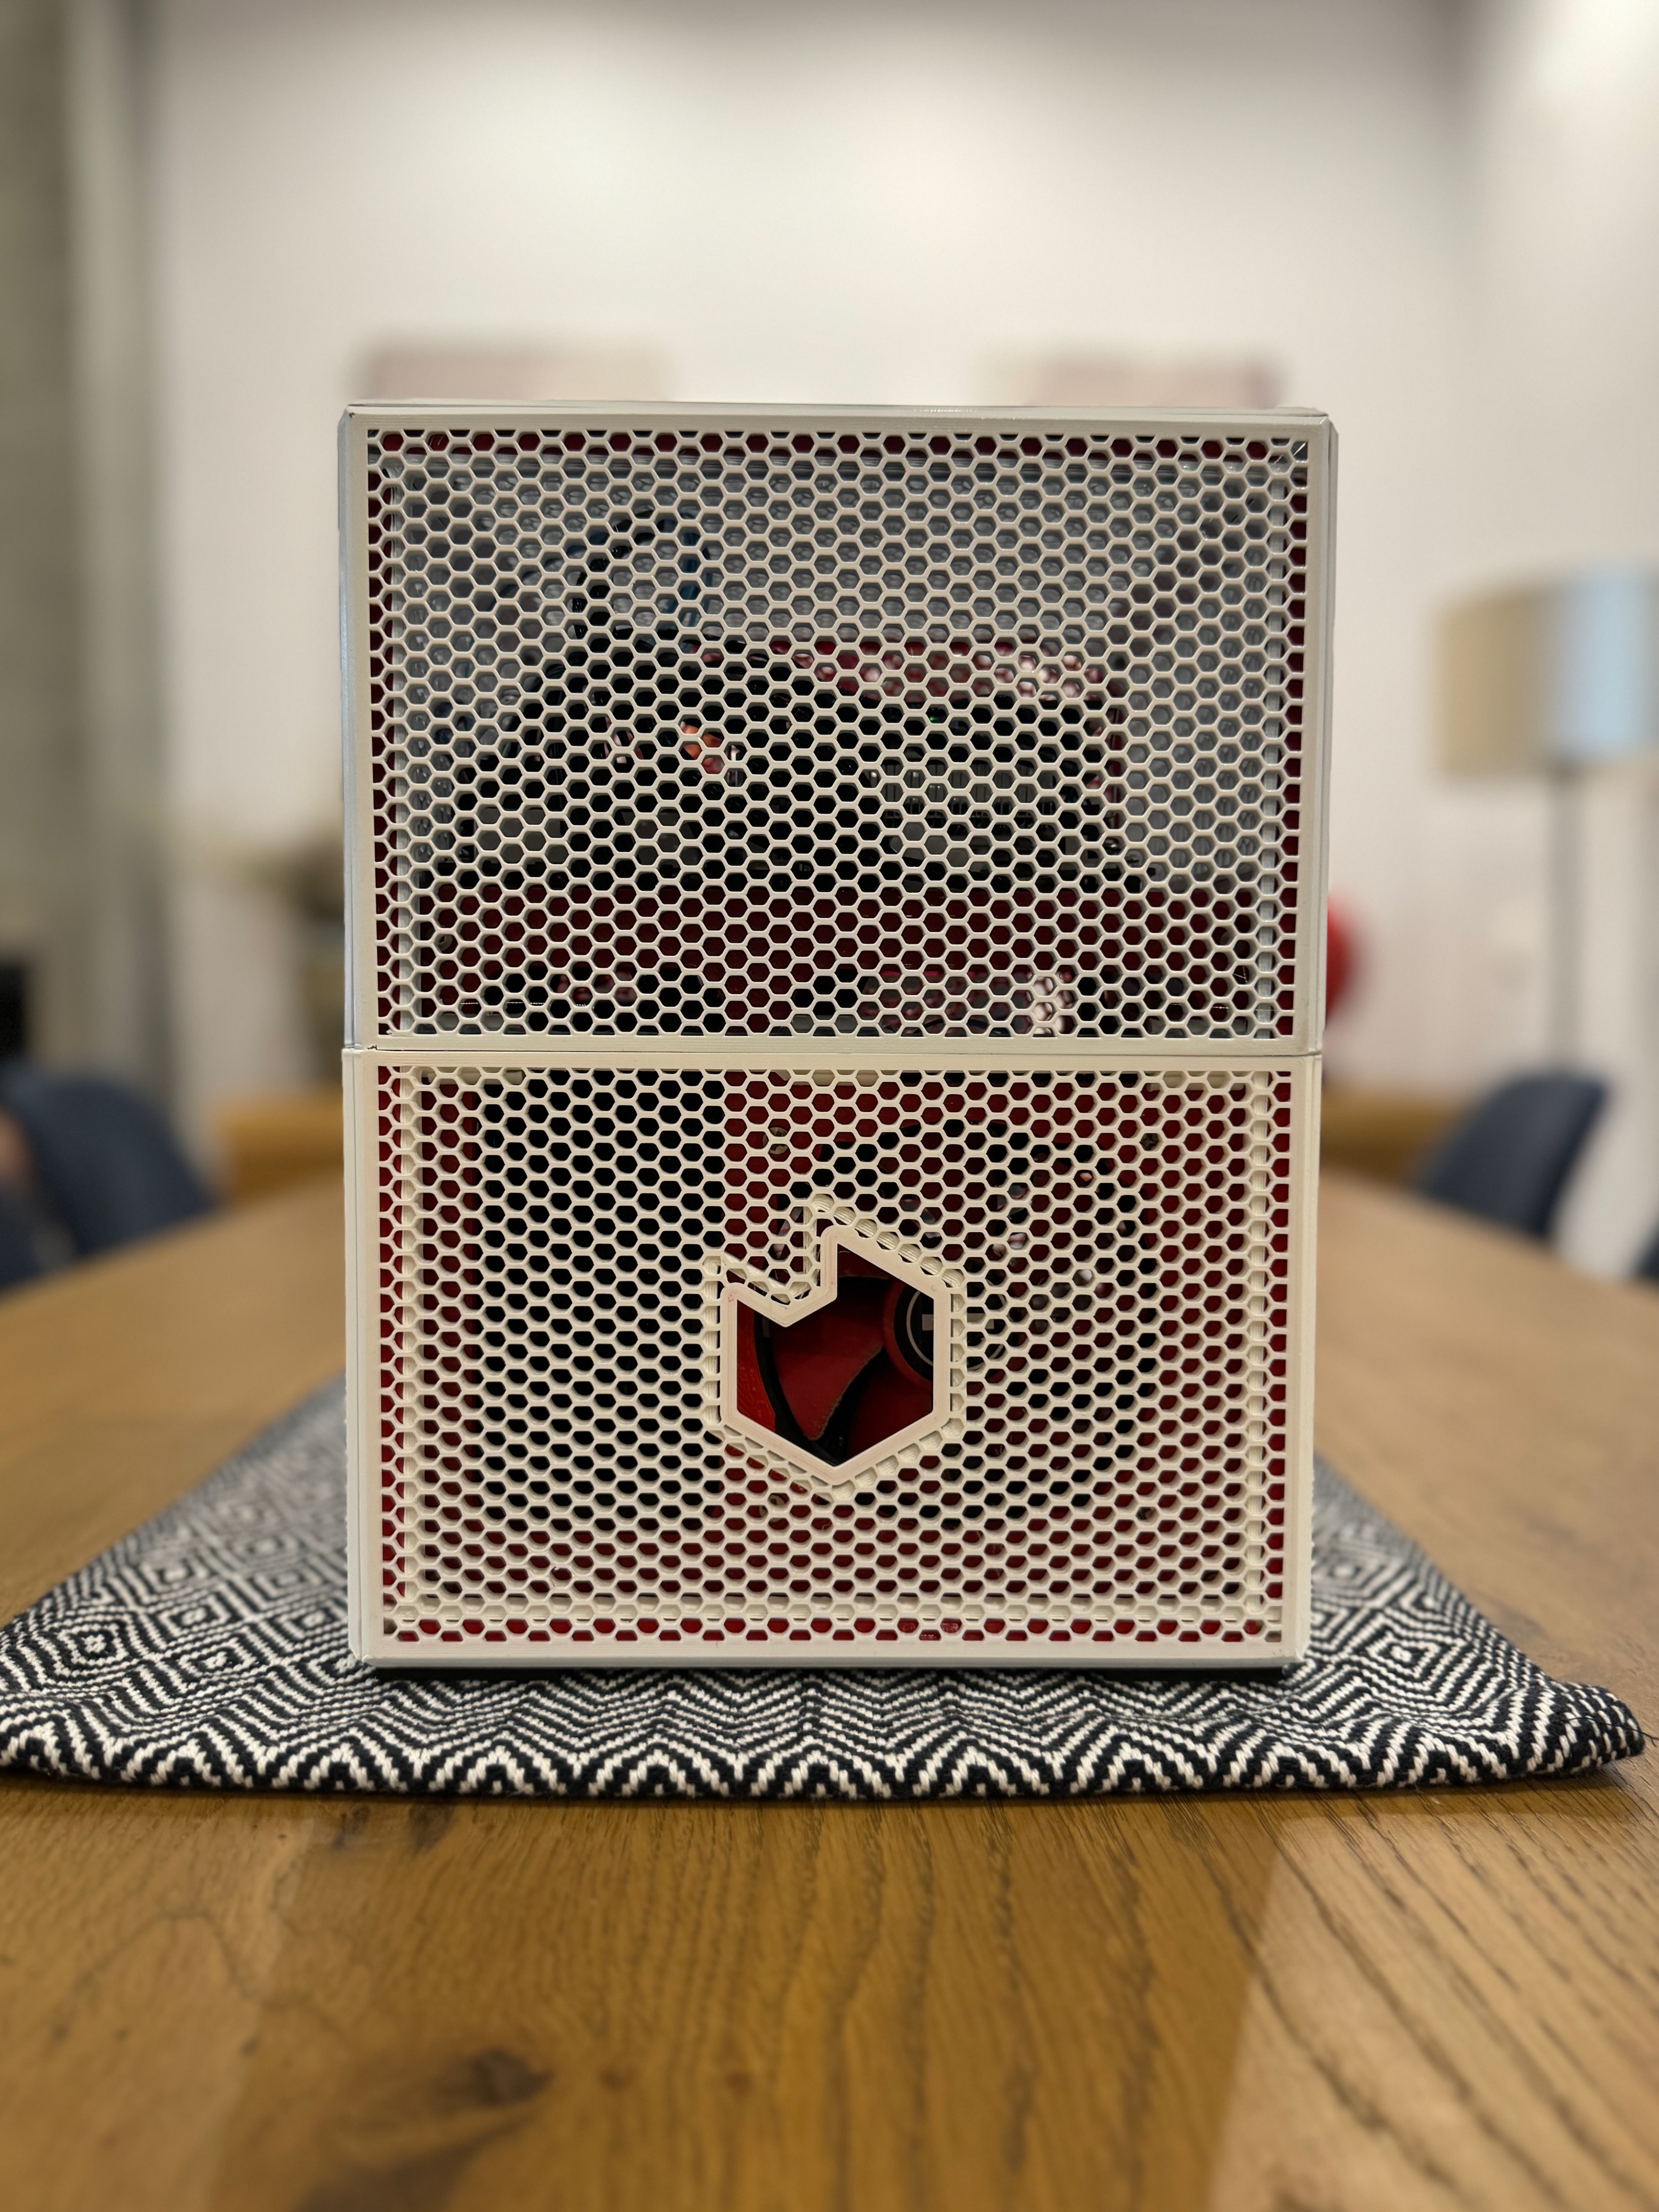
For my build, I used an Ender 3 to print a NAS enclosure from a design I bought on Printables. It solved the size and appearance problem, and I was happy with how the parts fitted together.
I would happily consider a printed enclosure again. I would also check its cooling layout before printing a pile of parts.
For assembly hardware, compare a PC screw kit with the case design’s required threads and lengths.
Where does the air enter? Does it pass over the drives? Is there space for the intended fans and their connectors? Can you assemble the complete machine without blocking that airflow with cables?
During testing, I would close the case, install the intended drives, and give the system a realistic workload. A temperature reading with the lid off and one drive installed answers a much easier question.
A conventional case is worth comparing too. The Fractal Design Node 304 is one example I considered in the original build. Check its manufacturer specifications against the intended parts. Its published specifications include space for up to six drives and three included fans. That gives you a starting point for checking a complete layout, rather than choosing on appearance alone.
Cheap parts can come with expensive troubleshooting
The motherboard was the most frustrating part of my build.
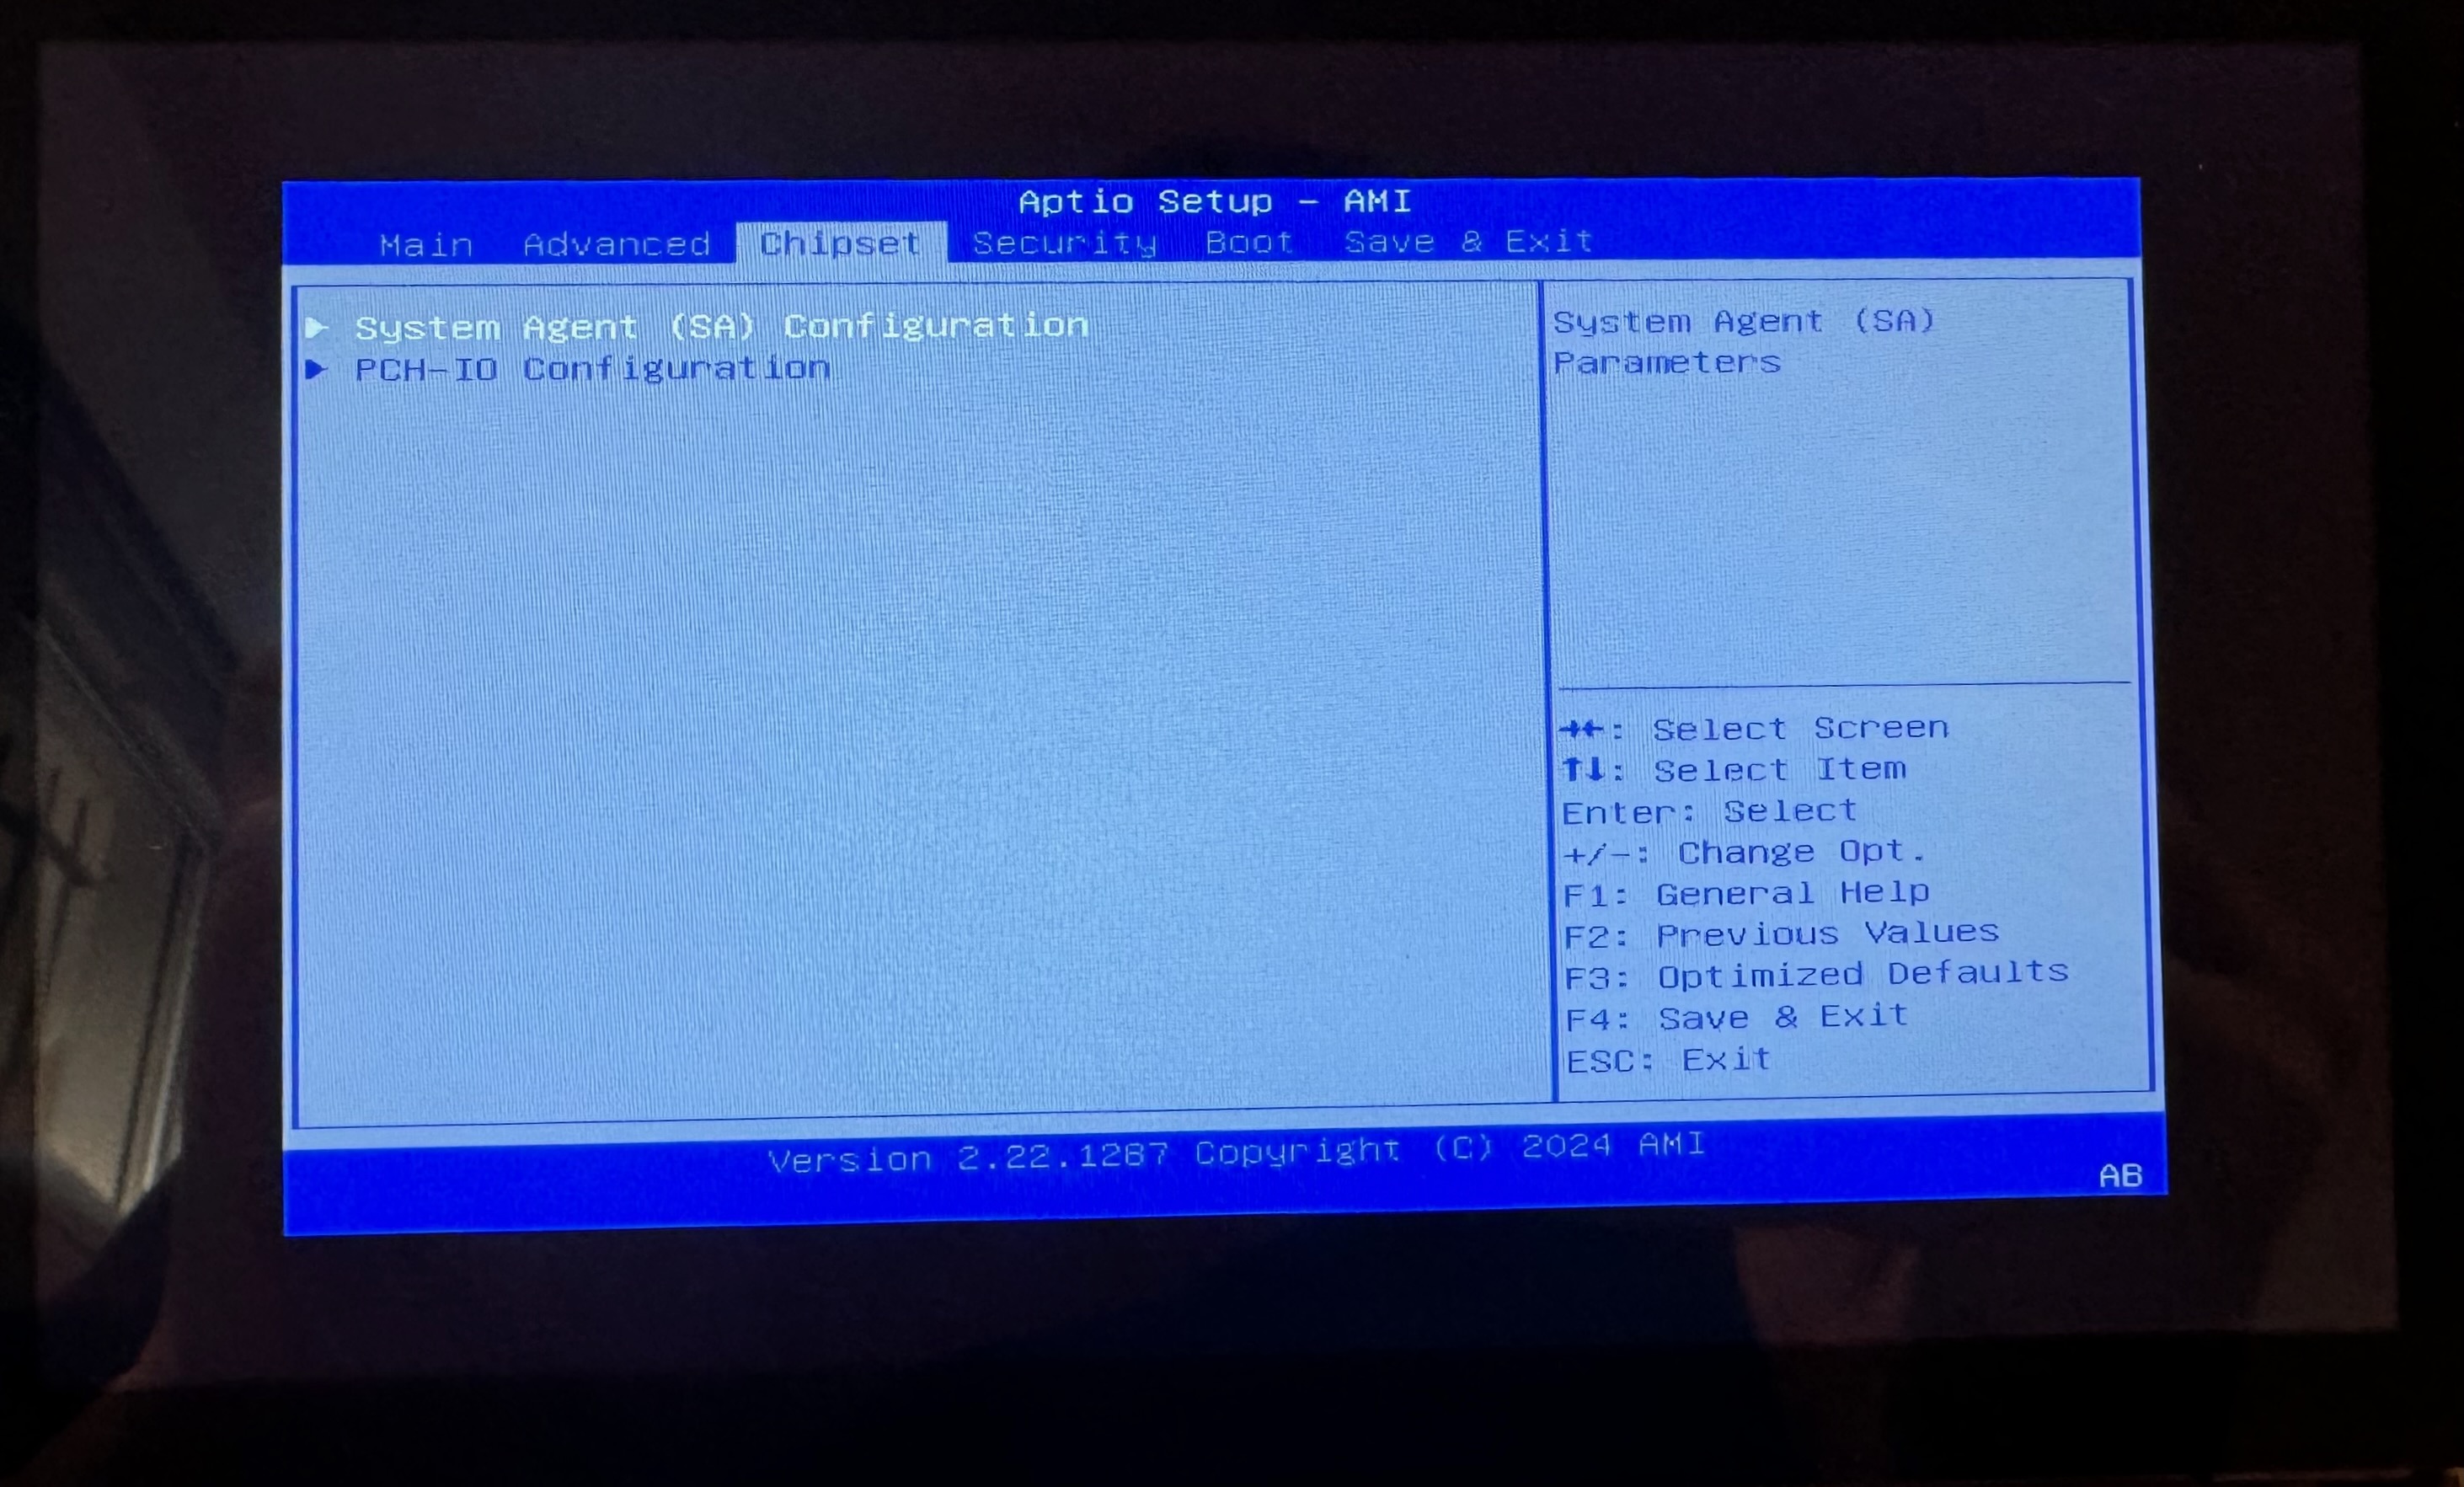
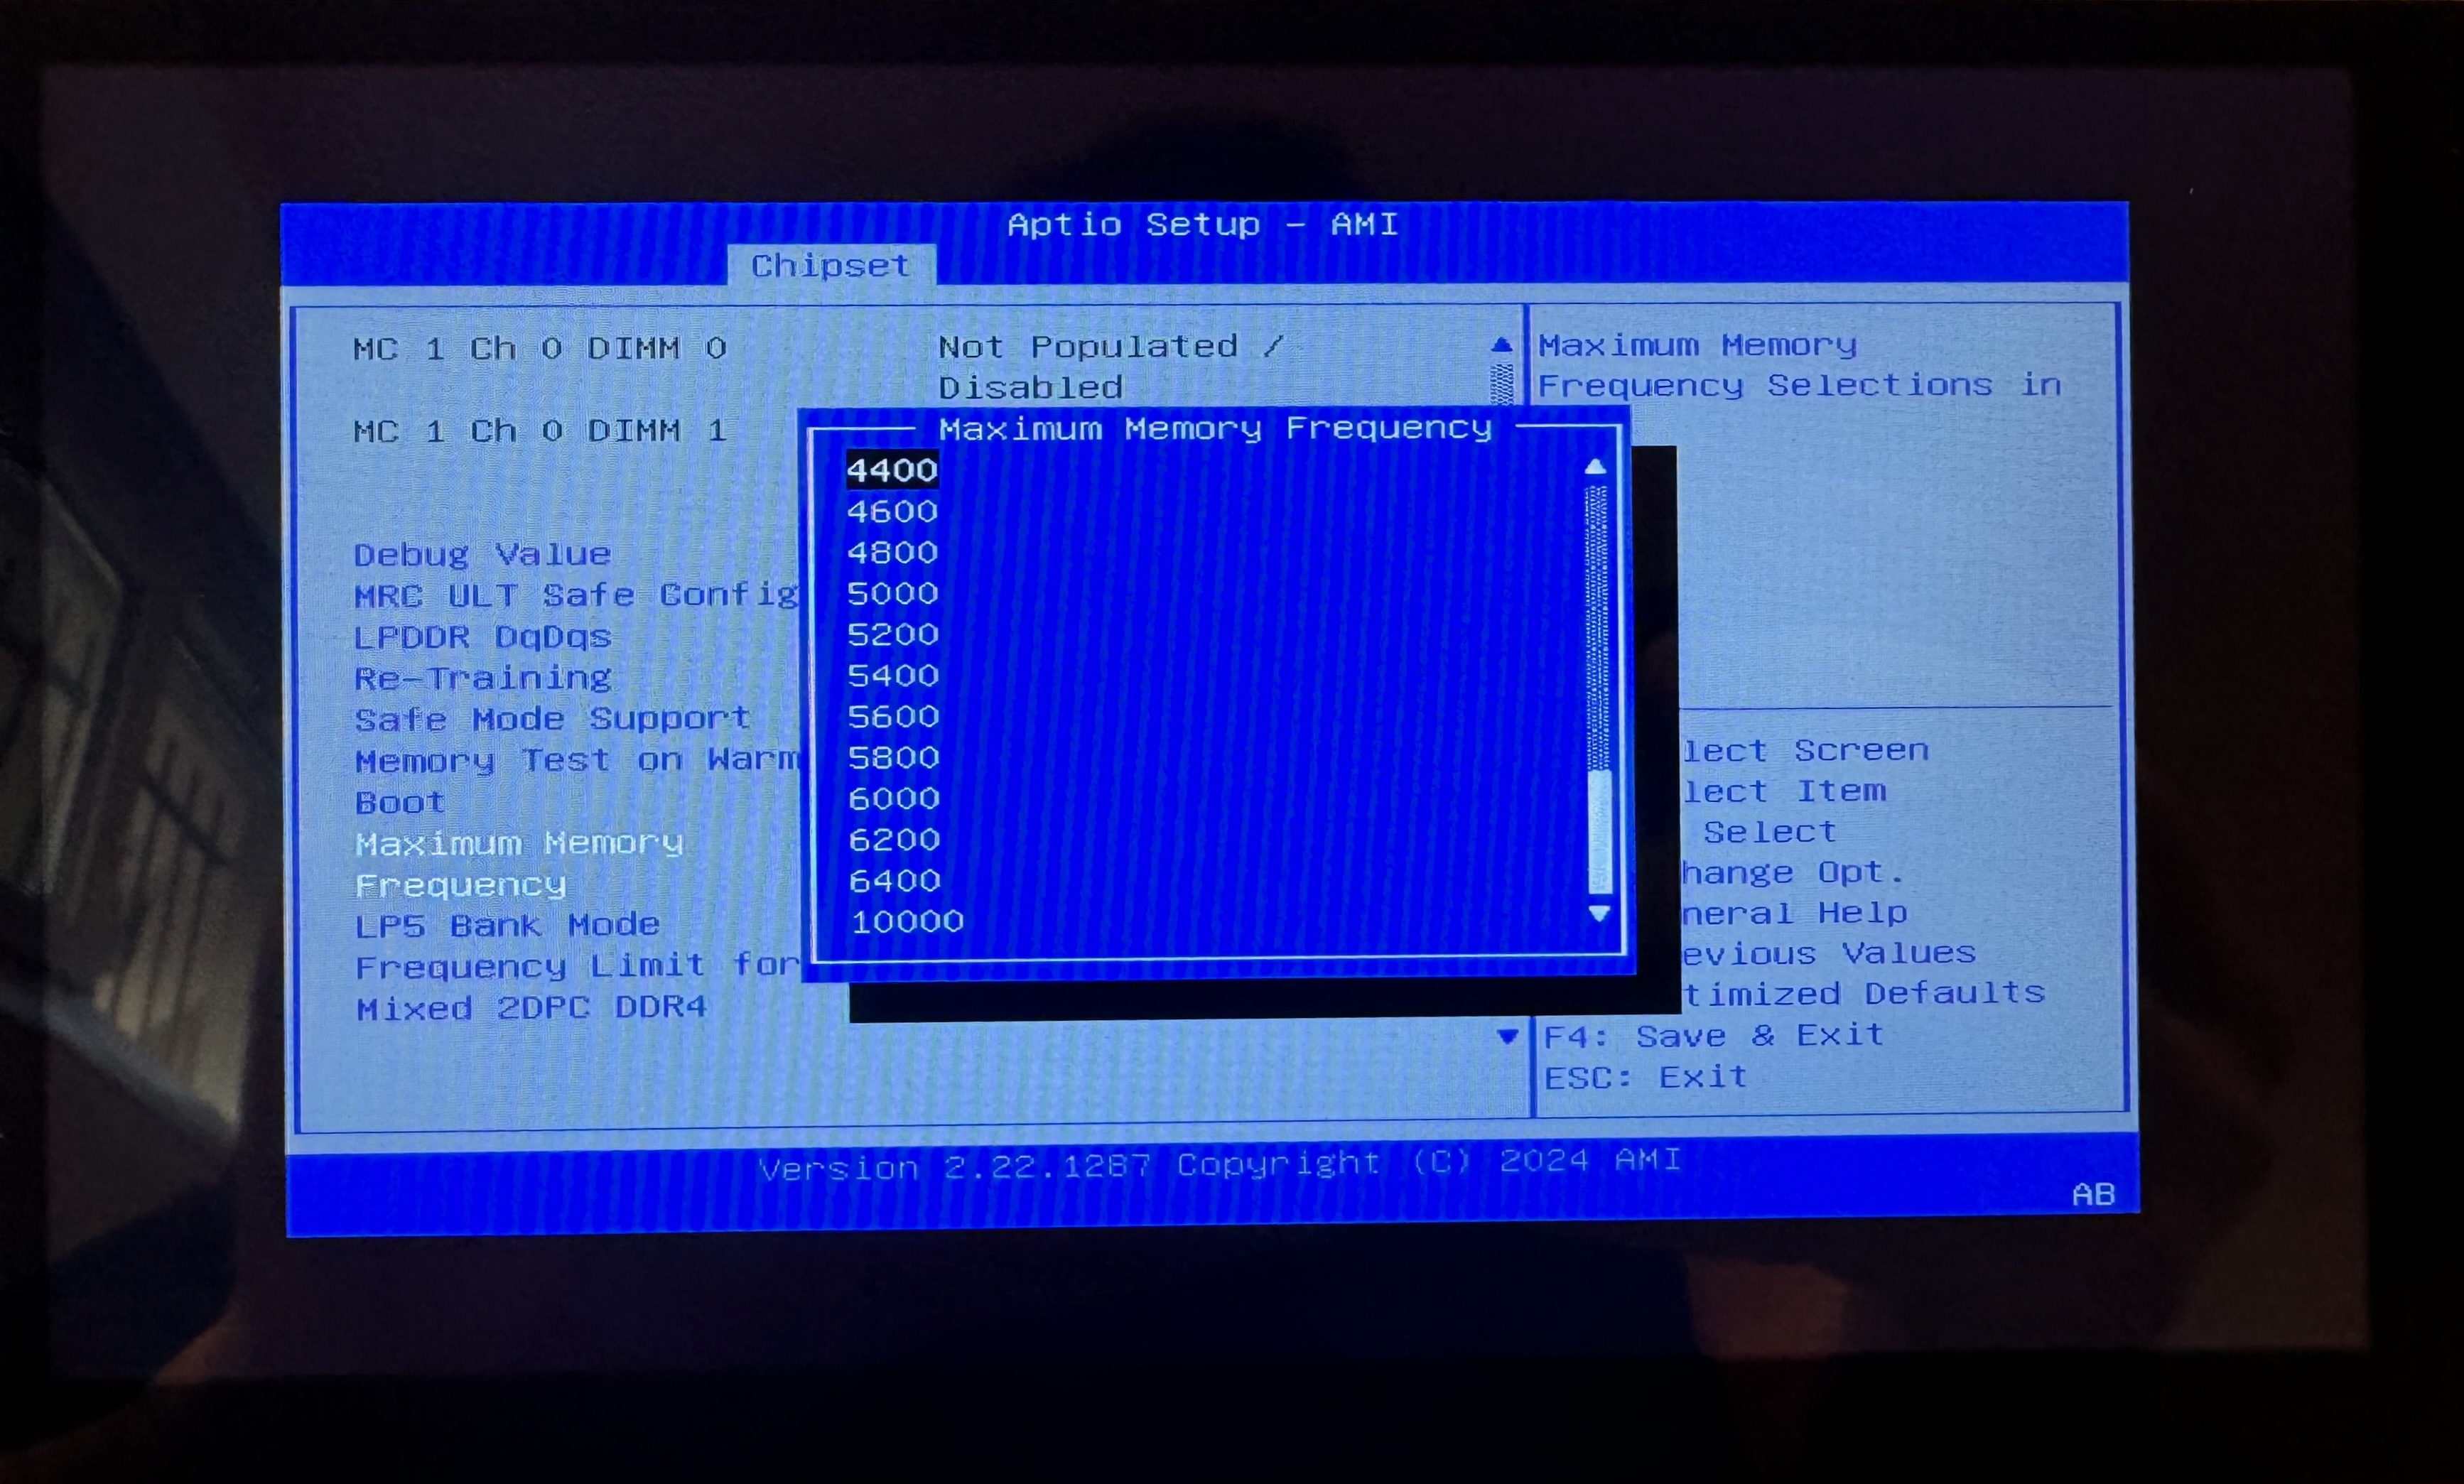
The server would randomly become unresponsive, and I needed a hard reboot to bring it back. Eventually, after finding someone describing similar trouble, I lowered the memory frequency to 4800MHz. The crashes stopped in my setup.
I also had an annoying buzzing sound near the CPU. Disabling turbo boost stopped it, with a performance trade-off I could accept for my use.
Those changes helped my machine. I wouldn’t apply them blindly to a different board or recommend treating random crashes as a normal part of buying NAS hardware.
The original motherboard listing is no longer available. This i3-N305 motherboard listing is a current alternative to compare; the troubleshooting above belongs to my original board.
Before buying again, I would spend more time on documentation, firmware availability, memory compatibility and reports from people running the same board. A successful photo of a build is encouraging. A detailed account of how it behaves after months of use is more useful.
Compare three complete builds
If I were starting again, I would price these options with the same storage requirement:
| Option | What I would check first |
|---|---|
| Used small-form-factor office PC | Physical drive space, connectors, expansion and the condition of the whole machine |
| Custom NAS motherboard and case | Compatibility, cooling, firmware support and the total parts list |
| Ready-made NAS | Drive support, software features, expandability and what administration it still requires |
Include the RAM, boot drive, power supply, fans, adapters and cables in each total. Comparing a bare motherboard with a complete computer makes the cheaper option look better than it is.
For those line items, the Crucial 8GB DDR5-4800 SO-DIMM (CT8G48C40S5) and WD Blue SN580 500GB NVMe SSD are examples to price. Check the exact motherboard’s supported memory capacity and modules, plus the M.2 interface and drive length, before choosing either. These are comparison candidates, not the parts I am claiming to have used in my original build.
The intended software matters too. Decide whether you want a dedicated storage appliance or a broader virtualization host before ordering parts. The architecture affects the storage setup and how much troubleshooting you are taking on.
Measure the power at the wall
The processor’s power figure doesn’t tell you what the complete server draws. There are drives, memory, controllers, cooling and power-supply losses to account for. Intel describes TDP and Processor Base Power as processor design figures, so I wouldn’t use them as the machine’s electricity measurement.
For perspective, an extra 10W running all year adds about 87.6kWh. At an illustrative €0.25 per kWh, that is roughly €22 annually. Use your own tariff and measured consumption for a useful estimate.
A plug-in power meter would be on my checklist before spending a lot of money to save a few watts. The Brennenstuhl Primera-Line PM 231 E is one EU-socket option to compare; check its plug type and measurement specifications for your setup.
Leave room in the budget for a backup
More drive bays and redundancy don’t remove the need for another copy of important data. A second drive inside the same machine doesn’t cover every failure that can affect the machine.
TrueNAS documents several backup approaches, including replication and cloud options, and separately recommends remote replication as an optimal backup scenario in its replication guidance.
I would include the destination and a restore test in the build plan. It is much easier to budget for that before all the money has gone into the server.
If you are comparing the ready-made route, UGREEN’s EU NAS range is another catalogue to investigate. Check the exact model’s drive support, operating system and noise reports; I haven’t tested those units.
The original mini PC made it easy to start. The custom build gave me more flexibility, but it also gave me noise, crashes and a lot of troubleshooting.
For the next build, I would keep the flexibility and spend more time checking those less exciting details. The server has to share the room with me, after all.