
Buying Your First 3D Printer: How Much Tinkering Do You Actually Want?
Some links in this article are affiliate links. If you buy through them, I may earn a commission at no extra cost to you.
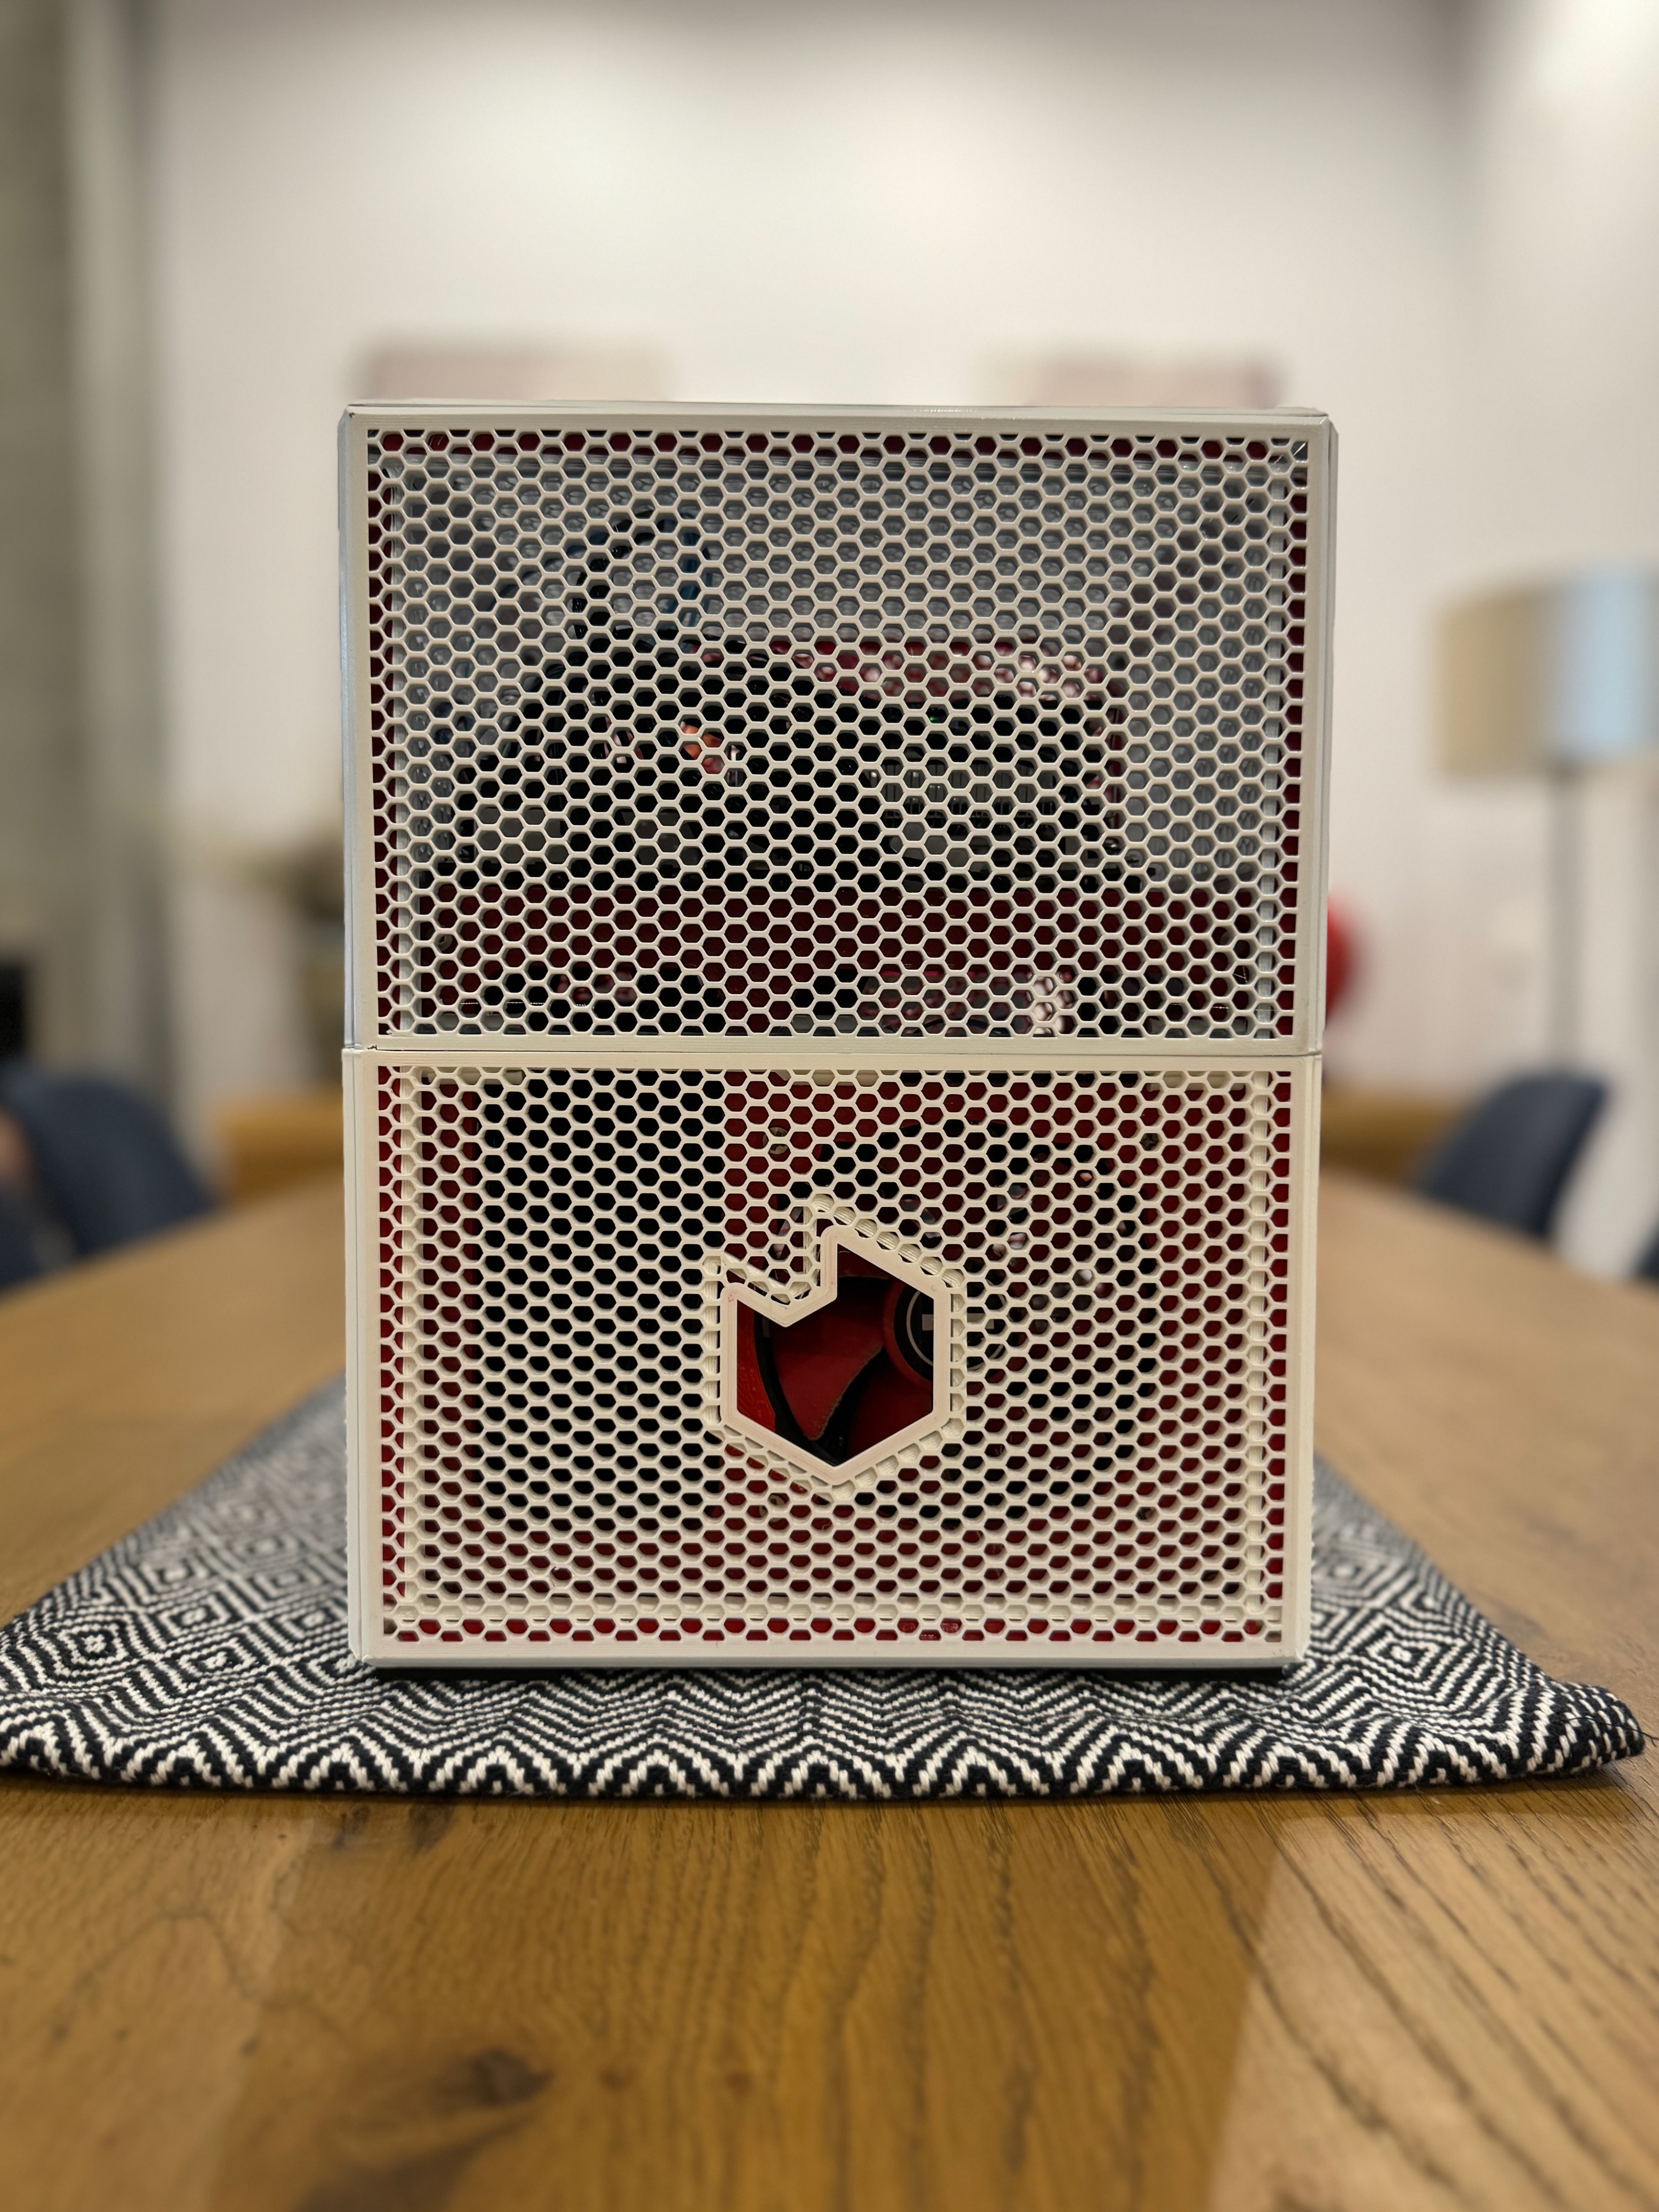
One of the useful things I made for my homelab was the case itself. I already had an Ender 3, found a NAS enclosure design on Printables, and printed the parts for the build.
I wrote about it in my homelab post. For that project, owning a printer made a practical difference: I could use a case that fitted what I wanted.
That is a much better reason to buy one than having a vague plan to print useful things someday.
A beginner-printer discussion shows the familiar choice between a cheaper starting point and paying more for convenience. Before choosing a model, I would decide which parts of the hobby actually interest me.
Start with three objects
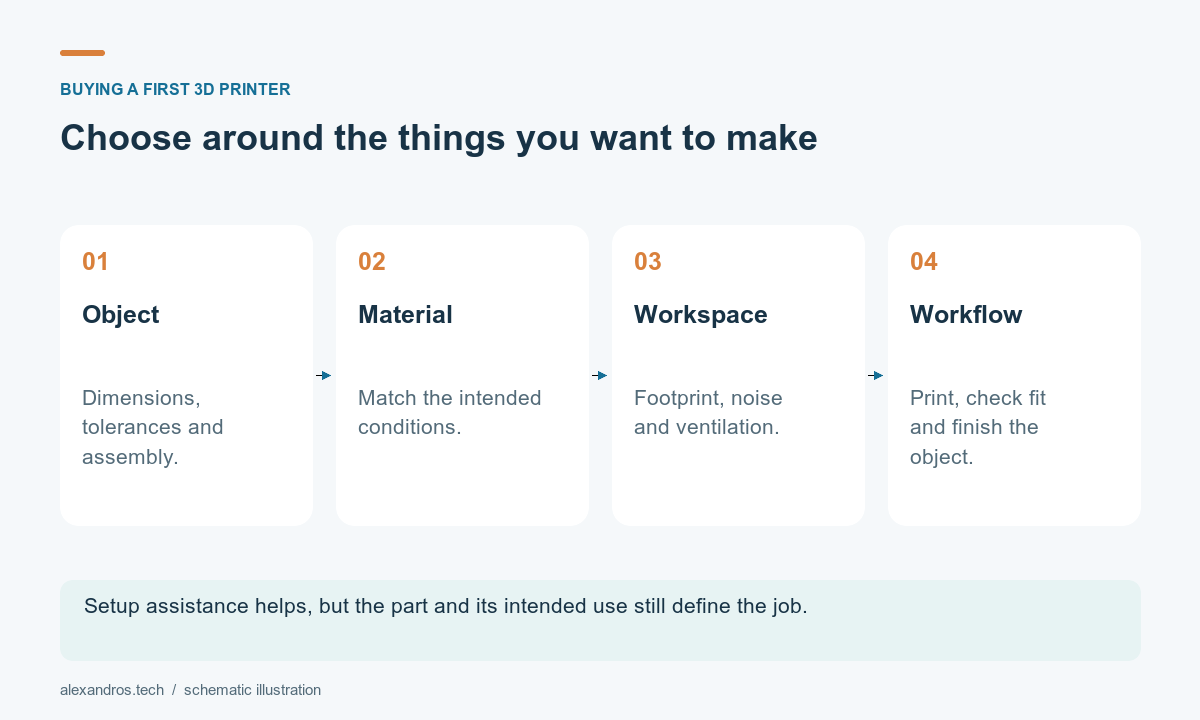
Pick three things you actually want to make. A sensor enclosure, a cable-management part and a mounting bracket for a small device would be a useful starting set.
Find example models and check their dimensions, material recommendations and printing instructions. That gives you a useful baseline for build volume and the kind of printing involved.
If the largest planned part doesn’t fit the printer, check whether the design is intended to be split. Scaling the whole model down isn’t a solution when the electronics inside still have their original dimensions.
For one isolated project, a local print service or a maker space is worth comparing too. Paying for a few parts may be simpler than finding room for another machine.
What the budget printer really costs
The printer price is only the beginning. Add filament, the tools you need, spare consumables, and a stable place to use it. Leave some allowance for failed attempts while learning.
A failed print can also be a very slow way to manufacture spaghetti.
Check replacement parts and documentation, too. A small saving becomes less attractive if the exact component that fails is hard to identify or obtain.
An older used machine can make sense for someone who wants to learn and maintain it. I would want to see its condition, a normal print, the included parts and any modifications before treating it as a bargain.
The fact that I own an Ender 3 doesn’t mean every product carrying the Ender name is the same printer. Compare the exact model and revision.
Automation can remove some setup work
Current printers offer different levels of calibration and setup assistance.
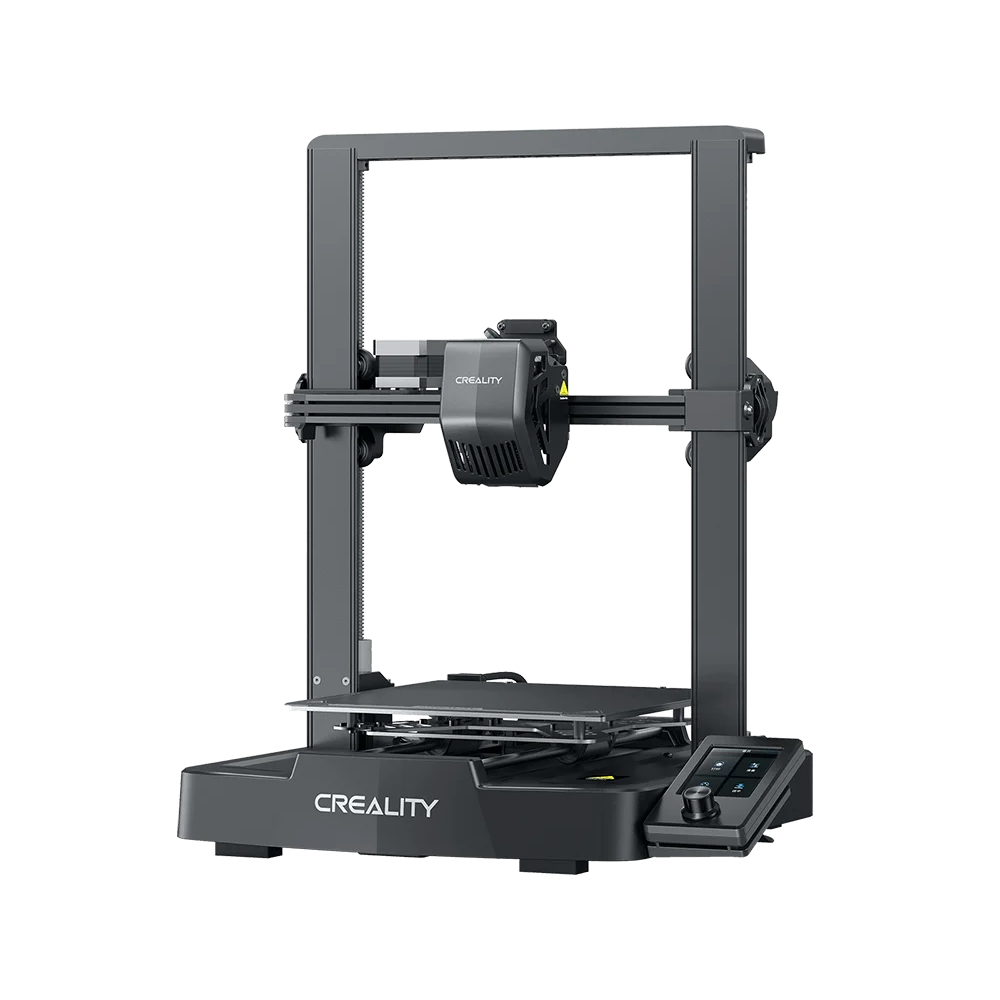
As one concrete example, Creality’s Ender-3 V3 SE documentation describes automatic bed leveling and automatic Z-offset sensing. Those are specific features to compare, rather than assuming every low-cost printer requires the same setup process as older models.
Other manufacturers and product lines are worth comparing for the same reasons: setup, maintenance, material support and how easily you can get help. This isn’t a hands-on ranking of the current market.
Read recent owner reports about normal use and common failures. A headline maximum speed is less useful if it doesn’t describe the quality and material settings you plan to use.
Materials change the requirements
For an electronics enclosure, consider where the finished part will live and the temperatures it may experience. A decorative item on a shelf and a part close to warm hardware have different requirements.
Use the filament and printer manufacturers’ guidance for compatibility, operating conditions and ventilation. Some material choices also change the equipment and workspace needed.
I would start with a material supported by the printer and appropriate to the first projects. There is no need to make the first week harder by choosing a demanding material without a clear reason.
A downloaded design is a starting point too. Check fasteners, clearances and any notes about orientation or assembly before printing the biggest part.
Make room for the whole machine
Check the printer’s operating footprint, including moving parts, spool location and access for maintenance. A machine fitting on the desk when switched off isn’t the whole measurement.
Noise matters if the room is also your office. So do the places where filament, tools and unfinished parts will accumulate.
| Priority | What I would check |
|---|---|
| Print a few useful parts with limited fuss | Setup assistance, documentation and support |
| Learn and modify the machine | Accessible parts and a documented repair path |
| Make electronics enclosures | Dimensions, tolerances and suitable materials |
| Use it in a small home office | Operating footprint, noise and ventilation requirements |
Keep the first project small
I would print a simple part, check its dimensions, then try the first enclosure. Finish the assembly before moving to a larger project.
Multicolor accessories, cameras and other extras can be interesting later. For a first practical part, one suitable material and a dependable basic workflow are enough.
The printer I would choose depends on whether I want to spend the weekend learning the machine or making the thing that goes inside it. Both can be enjoyable. I would just like the shopping decision to match the weekend I actually had in mind.